Attach a receipt to an expense
Last updated: July 18, 2026
Before you begin
Section titled “Before you begin”Open an existing or new project expense and make sure the receipt is available on your device. InBuildr accepts up to 10 attachments on an expense.
Permission note
Section titled “Permission note”Adding a receipt while creating an expense requires the project’s expense-create permission.
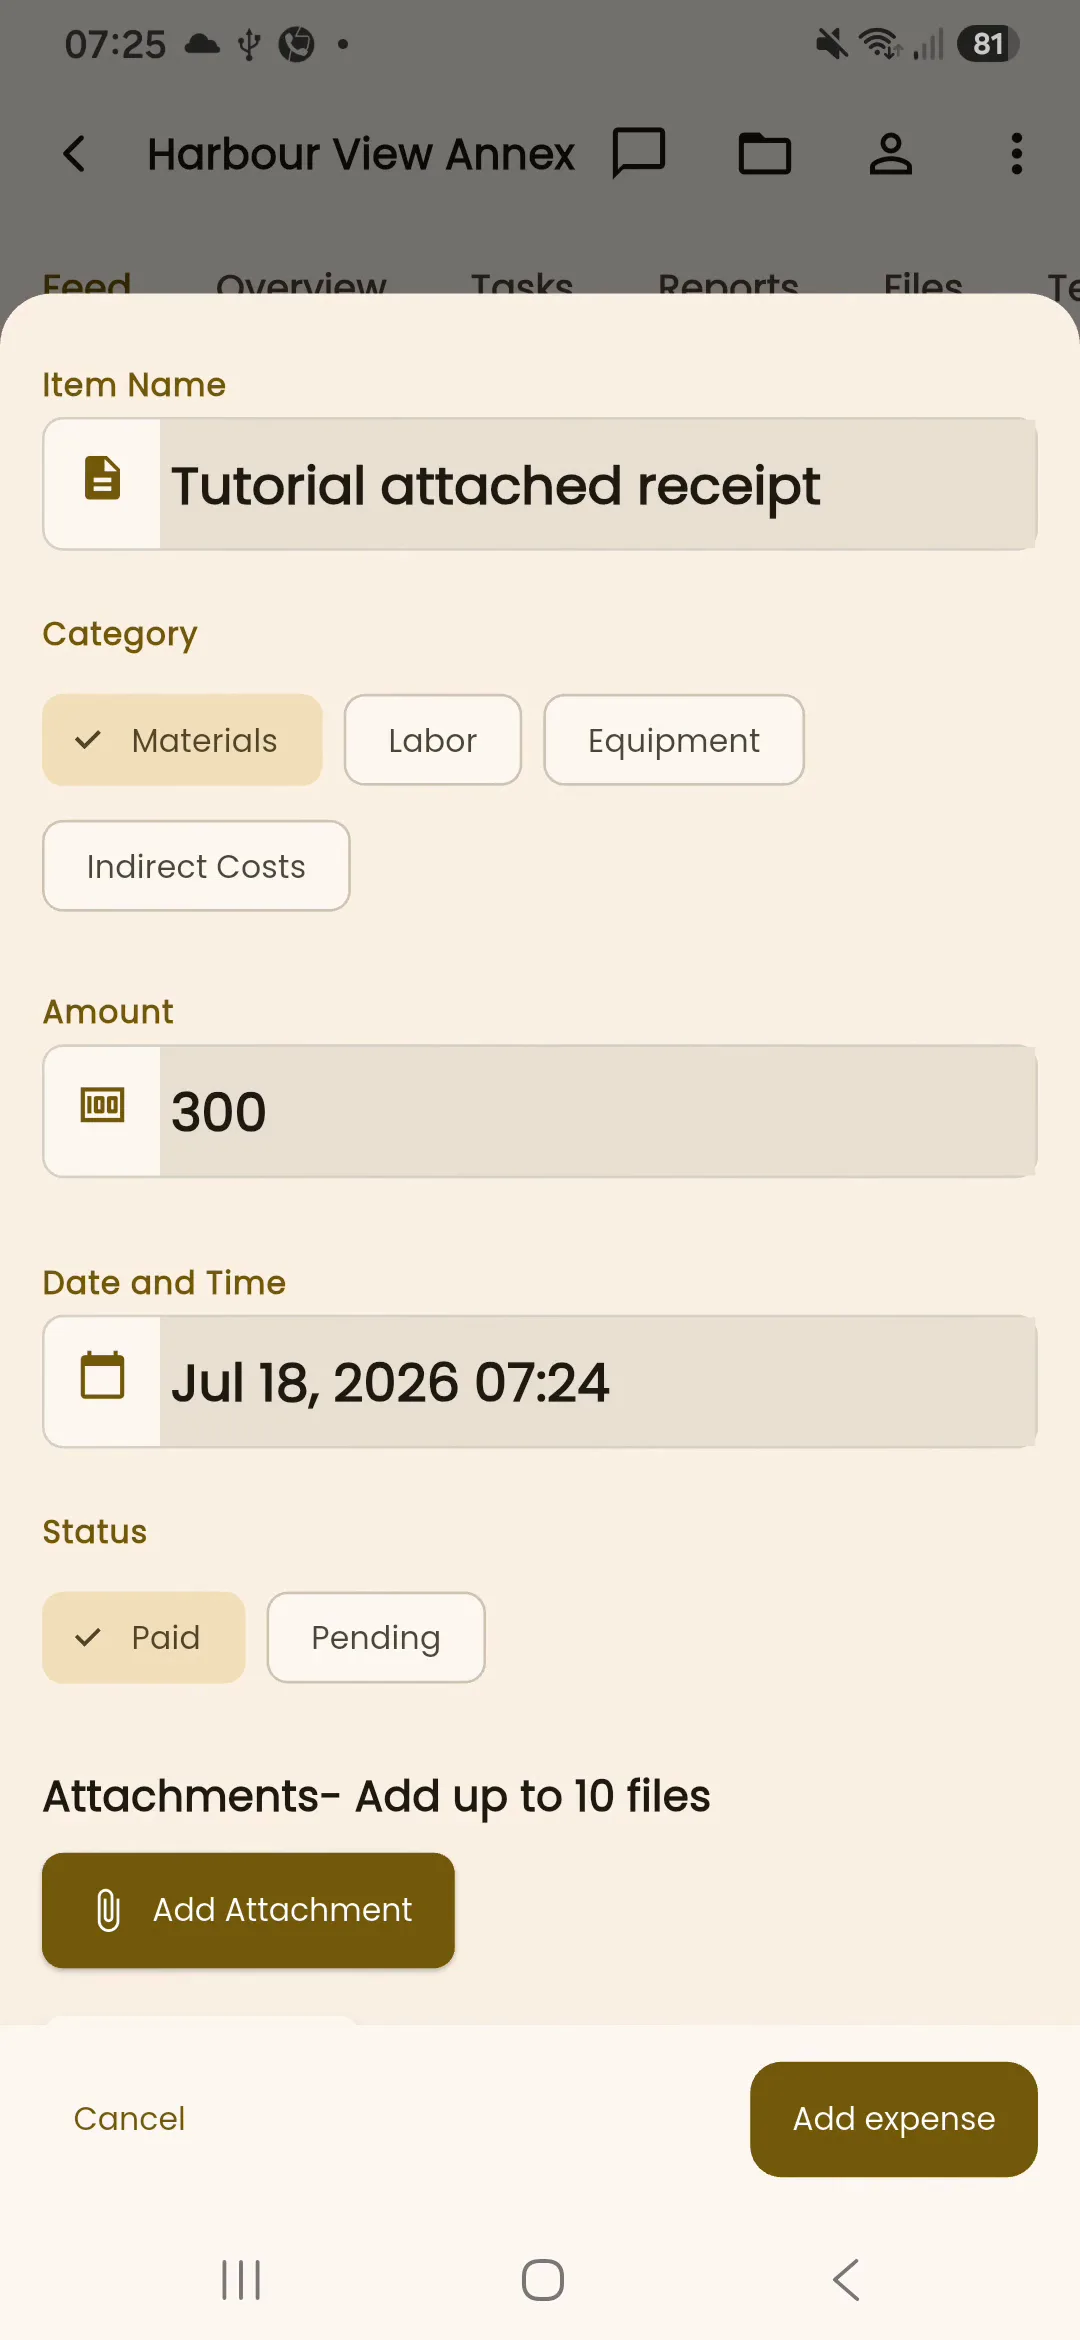
- In the expense form, scroll to Attachments- Add up to 10 files.
- Select Add Attachment.
- Choose the receipt from an available source on your device.
- Confirm that the attachment appears in the expense form.
- Complete the other required fields and select Add expense.
Expected result
Section titled “Expected result”The receipt is attached to the expense and the completed expense can be saved.
Troubleshooting
Section titled “Troubleshooting”If Attach a receipt appears, add at least one attachment before saving. If Could not access that file appears, choose a file stored in a location available to InBuildr. Remove an incorrect attachment from the grid and add the correct receipt. InBuildr stops accepting additional files after 10 attachments.